SKUs and Item Configuration
Topics covered in this article:
- Epicor license
- Epicor SKU integration
- Importing the file
- Item configuration
- Adding a category to the item
Epicor license
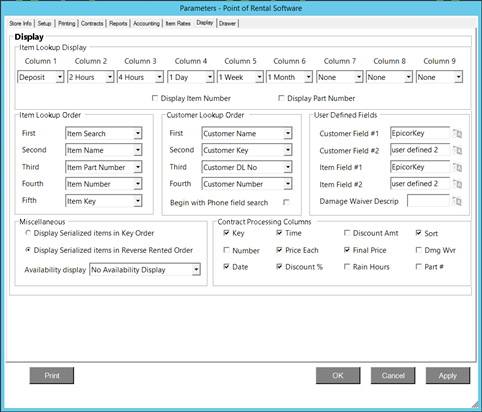
Once the integration is enabled, the “User Defined 1” fields will appear as the “EpicorKey” for ‘Customer Field #1’ and ‘Items Field #1.’ This can be in the following areas.
Expert: Program Menu > Configuration > System Configuration > Parameters > Display
Launchpad: ⚙> App Configuration > System Configuration > Parameters > Display
Epicor SKU integration
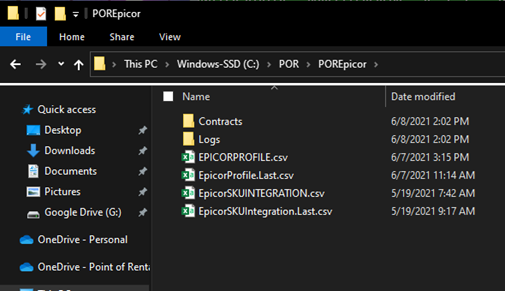
The Epicor SKU is a CSV Document that must be saved in the POREpicor folder (<DataDrive>\POR\POREpicor\EricorSKUIntegration.CSV) after enabling the Epicor Integration for a customer.
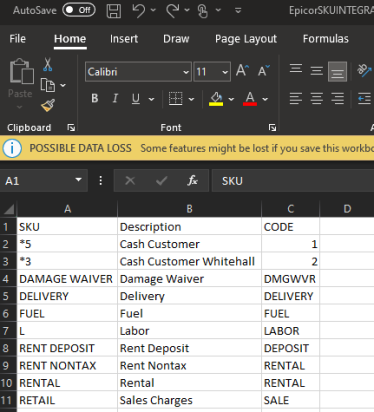
Once open you will see 3 Columns in the File.
· Column 1: Epicor SKU field. This MUST match the matching SKU in Epicor.
· Column 2: Description that is in Epicor.
· Column 3: Code for matching with Point of Rental. This MUST be what Point of Rental has otherwise it will not code correctly in Epicor.

Importing the file
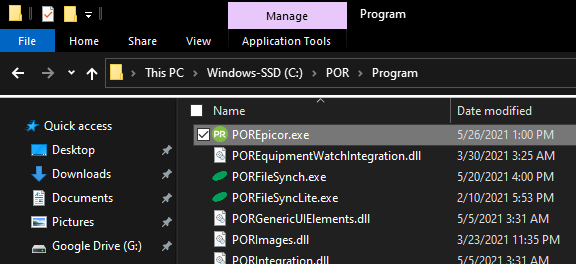
Go to <Data Drive>\POR\Program\POREpicor.exe
Once the Program Opens go to Setup > Update Epicor SKUs

You will get a message, this will delete and import new configurations from <DataDrive>\POR\POREpicor\EpicorSKUIntegration.CSV. Click yes.

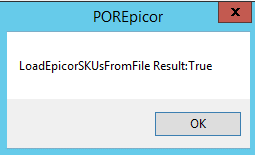
When it is complete, you will get this message.
To check to make sure it is imported click on Setup > View Epicor Profile.
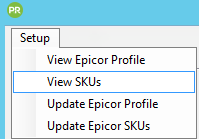
This will bring up the Data Explorer of the items that you imported.

Item configuration
Any specific item to be passed from Point of Rental to Point of Sale must be mapped. This includes parts, sales items, labor items, fees, and delivery charges.
Parts and Sales Items
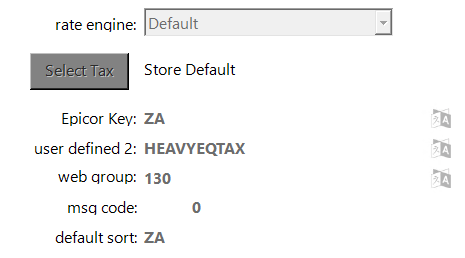
To pass a specific item to Epicor, you must enter that item’s Epicor SKU into the Epicor Key field on the Options tab of the Point of Rental Item File screen for the item.
Note: Fractional quantities will be adjusted to the quantity of 1 with the item total price – this is because the Epicor interface does not allow fractional quantities.
To get to the Options tab in Point of Rental:
Expert: Program Menu > File Maintenance > Item File > Options
Elite\Launchpad: ⚙> File Maintenance > Item File > Options
Labor Items, Fees, & Delivery Charges
For this type of item, we will keep the Epicor Key Blank in the Item File. What we will be doing is adding a Category and adding it in the GL #5 Spot. If you need to create a New Category for your items go to:
Expert: Program Menu > Configuration > Item Configuration > Item Category > Add
Elite\Launchpad: ⚙> App Configuration > Item Configuration > Item Category > Add
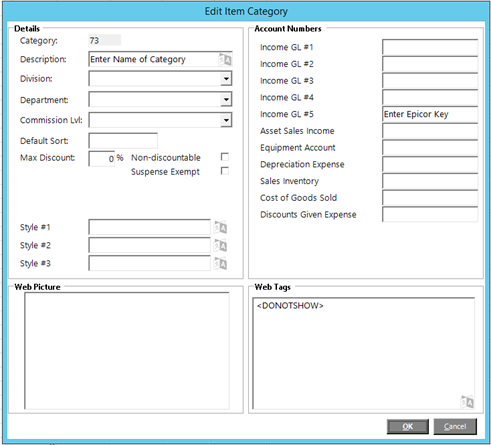
If you are integrated with Website integration place ‘<DONOTSHOW>’ in the Web Tags so this category will not show in your store.
Adding a category to the item
Go to Expert: Program Menu > File Maintenance > Item File or Elite\Launchpad: ⚙️> File Maintenance > Item File.
Go to Functions > Modify (Ctrl + M).
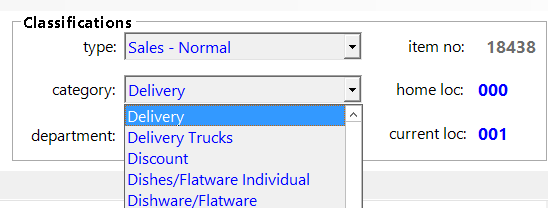
Under Classifications change the Category to what you named that category.